Why Contact Cement Causes Ripples on Thin Leather Gussets
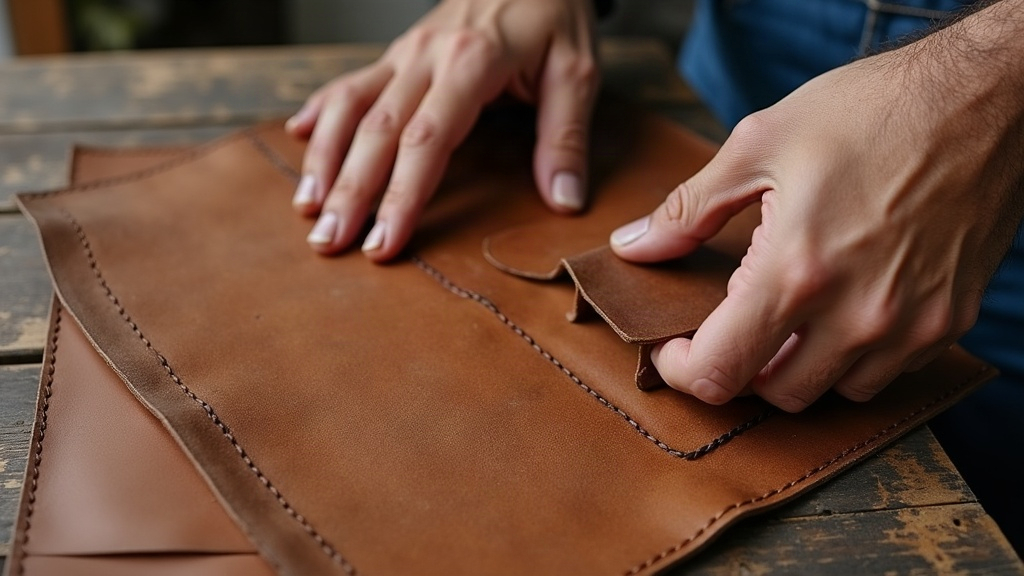
Contact cement causes ripples on thin leather bag gussets because thin leather stretches unevenly under wet adhesive, traps air pockets during bonding, and shrinks unpredictably as the solvent flashes off. The result is a wavy, bubbled surface instead of a flat, professional seam. Once you understand what’s actually happening at the fiber level, you can stop this before it wrecks your next gusset.
Why Thin Leather Gussets Are Especially Vulnerable
Gussets are the narrow side panels that give a bag its shape and depth. Since they’re usually cut thin, somewhere around 1.0 to 1.5 oz, to keep the bag flexible enough to fold and flex, they react to glue in a totally different way than the thicker structural panels do.
1. Thin Leather Stretches When Wet
Contact cement is a liquid, and leather is a natural, fibrous material that drinks in moisture. Brush cement onto a thin hide and the solvents cause localized swelling almost immediately. Thicker leather shrugs this off because its fiber structure is dense and rigid enough to resist distortion. Thin leather doesn’t have that luxury. It stretches slightly wherever the cement touches it, and if your coat isn’t perfectly even, it stretches unevenly too.
2. Uneven Drying Creates Tension
Cement needs to flash off to a tacky state, not stay wet, before you bond anything. But if one section dries faster than another (and this happens constantly near edges, corners, and curves) the fibers in that spot relax and contract at a different rate than the rest of the panel. That mismatch in shrinkage is probably the number one reason ripples show up once you press the pieces together.
3. Trapped Air and Poor Pressure Distribution
Think about how you actually press a narrow, curved gusset into place. It’s tempting to just mash down the parts that are easy to reach and call it done. Air gets trapped underneath in the spots you skipped, and later, when that air finally works its way out, it shoves the leather into little waves and bubbles.
4. Over-Application of Cement
A lot of beginners slather on way more cement than needed, figuring thicker glue equals a stronger bond. It doesn’t work that way. Extra cement on thin leather just means more moisture sitting in the fibers and more solvent that has to evaporate out later, which makes the stretching and shrinking worse, not better.
How to Prevent Ripples on Thin Gussets
Use a Thin, Even Coat
Brush or roll on one thin, uniform layer and leave it alone. Going back over a spot that still looks wet reactivates it and oversaturates the leather right where you don’t want that.
Let It Dry to the Right Tack
Give it 10 to 20 minutes (humidity and brand will shift that number) until the cement is dry to the touch but still tacky underneath. Test it with a knuckle, not a fingertip. Fingertips leave oil behind, and oil on a bonding surface is its own headache.
Bond from Center Outward
Start pressing the gusset to the body panel from the middle, then work your way out toward the edges. This pushes trapped air and built-up tension outward instead of sealing it in the center where you can’t get at it.
Use a Roller or Bone Folder Immediately After Contact
The moment the two cemented surfaces meet, run a hard roller or bone folder across the whole surface with firm, continuous pressure. Don’t just tap at it in a few spots. This single step, done right, is probably the most effective way to push out trapped air before the bond locks in for good.
Pre-Curve the Gusset Before Gluing
If the gusset needs to curve, dampen it lightly and shape it over a form or case mold before you ever reach for the cement brush. The leather is already close to its final shape, so it doesn’t have to stretch nearly as much during bonding.
Choose the Right Cement Formula
Water-based contact cements tend to be gentler on thin veg-tan or garment leather than the solvent-heavy neoprene types, which flash off fast and can shock the fibers. If you’re not sure, test both on a scrap piece first, it only takes a few minutes and saves you from ruining a panel you’ve already cut and skived.
Quick Fixes If Ripples Already Appeared
- Light heat: A warm, not hot, hairdryer can soften the cement just enough to re-press the area and smooth out minor ripples.
- Re-roll under pressure: Clamp the piece between two flat boards and leave it overnight. Residual waves often flatten out on their own under steady pressure.
- Trim and reset: For bad bubbling, there’s no shortcut. Peel back the affected section carefully, scrape off the old cement, and reapply a thinner coat.
Conclusion
Ripples on thin leather gussets aren’t proof that you did something wrong as a craftsperson. They’re a predictable reaction between wet adhesive and delicate fibers, nothing more mysterious than that. Thin coats, proper tack time, bonding from the center out, and firm even pressure right after contact will get you smooth, professional seams consistently, even on the thinnest hides you work with.