Beginner Steps for Hand-Stitching a Flat Leather Cable Organizer
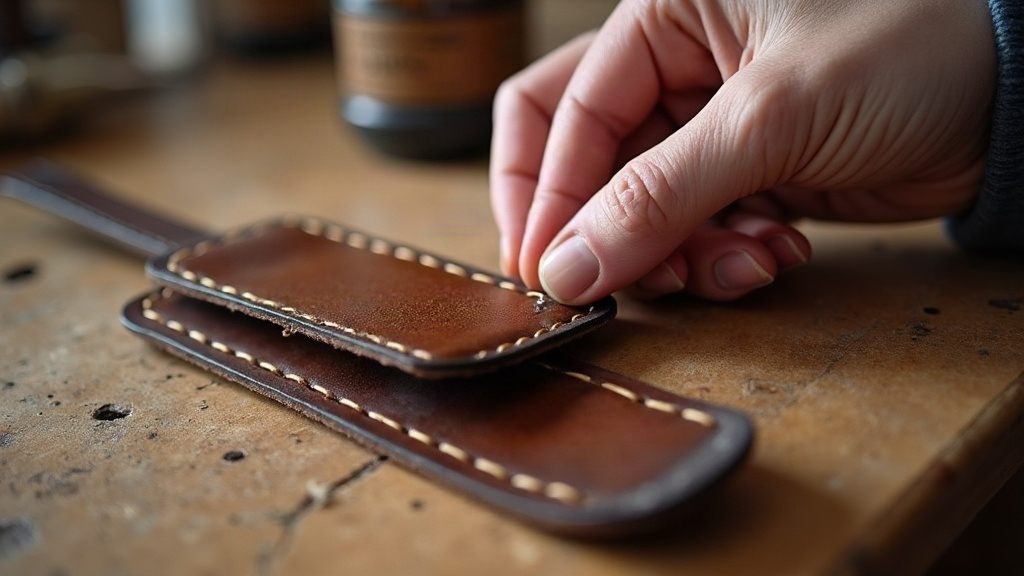
A flat leather cable organizer is one of the best first projects for anyone learning hand-stitched leatherwork. It asks for almost no tools, uses up small scraps you already have lying around, and teaches the core saddle-stitch technique you’ll lean on in nearly every project after this one. Below you’ll find what to gather, how to cut and mark your pieces, and how to stitch something clean and durable that wraps your earbuds, charger cable, or small cords without falling apart after a week in your bag.
Why This Is the Perfect Beginner Project
Unlike wallets or bags, a cable organizer is small, forgiving, and quick. Most people knock one out in under an hour, start to finish. It also only has one seam, which means you can put all your attention into learning even stitch spacing and tension instead of wrestling with five pattern pieces at once.
Tools and Materials You’ll Need
- Vegetable-tanned leather (2-3 oz / 0.8-1.2mm thick works best for flexibility)
- Pricking iron or stitching chisel (4-5mm spacing is beginner-friendly)
- Two harness needles (blunt-tip, size 2 or 3)
- Waxed polyester or linen thread
- Rotary cutter or utility knife + metal ruler
- Edge beveler and burnishing tool (optional but recommended)
- A snap button or leather lacing for closure
You don’t need a full workbench. A cutting mat on your kitchen table is plenty to get started.
Step 1: Cut Your Leather Pieces
Cut a rectangle roughly 4 x 7 inches (10 x 18 cm). That’s enough to comfortably hold a coiled cable or a pair of earbuds. Round the corners a little with a corner punch, both for looks and so the thing doesn’t snag on the lining of your bag or your pocket.
Step 2: Mark Your Fold Lines and Stitch Path
Fold the leather into thirds, letter-style, and see how a cable actually sits once it’s wrapped. Score the fold lines lightly with a stylus or the back of a knife blade. This lets the leather crease evenly instead of cracking along the fold later.
Mark your stitch line 3-4mm from the edge using a wing divider, or just a ruler and pencil if that’s what you’ve got. Keeping that distance from the edge consistent is basically what separates amateur-looking stitching from professional-looking stitching.
Step 3: Punch Your Stitch Holes
Press the pricking iron straight down along your marked line to make evenly spaced holes. Work in short bursts, 4 to 6 holes at a time, and keep the iron perpendicular to the leather. Tilt it even slightly and you’ll end up with angled, uneven holes that throw off the whole seam.
Step 4: Thread Your Needles (Saddle Stitch Basics)
Cut your waxed thread about four times the length of the stitch line itself. Run out of thread halfway through and you’ll know exactly why that rule exists. Thread a needle onto each end.
To saddle stitch:
- Pass one needle through the first hole until the thread sits centered.
- Push the second needle through that same hole, but from the opposite side.
- Pull both threads evenly to tighten, then move to the next hole and repeat.
This two-needle method is what makes saddle stitching so tough: even if the thread snaps at one point, the seam holds. That durability is the whole reason it’s the leatherworking standard, not some old tradition kept alive out of habit.
Step 5: Keep Tension Consistent
Beginners tend to swing between two extremes: yanking too hard, which puckers the leather, or barely pulling at all, which leaves sloppy, loose-looking stitches. What you want is a firm, even pull after each hole, not a jerk. Stop and check your line every 8 to 10 stitches. Catching a mistake early saves you from unpicking twenty stitches later.
Step 6: Finish and Lock the Stitch
At the last hole, backstitch through the previous two or three holes to lock everything in place. Trim the thread close, then seal the ends with a dot of leather glue, or a quick touch from a lighter if you’re working with waxed thread.
Step 7: Add the Closure
Add a snap button, a leather tie, or an elastic loop at one end so the organizer actually stays wrapped once it’s around your cable. Fold it around your real cord before you commit to where the closure goes. Guessing the placement is a common way to end up with a strap that’s an inch too short.
Common Beginner Mistakes to Avoid
- Uneven hole spacing, usually from poking holes freehand instead of using a pricking iron
- Over-tightening the thread, which warps and bunches the leather
- Skipping the backstitch lock, so stitches gradually loosen with use
- Cutting the leather too thin, leaving it floppy instead of holding its shape
Conclusion
Hand-stitching a flat leather cable organizer is a small project with a decent payoff. With a handful of tools and one straightforward seam, you get real practice with saddle stitching, build the muscle memory for even tension, and end up with something you’ll actually use every day. Get comfortable with this one, and you’ve already got the foundation for moving on to trickier stitched pieces: wallets, pouches, cardholders, the whole next tier of projects.