Stop Water-Based Leather Glue From Bleeding Through Pale Leather
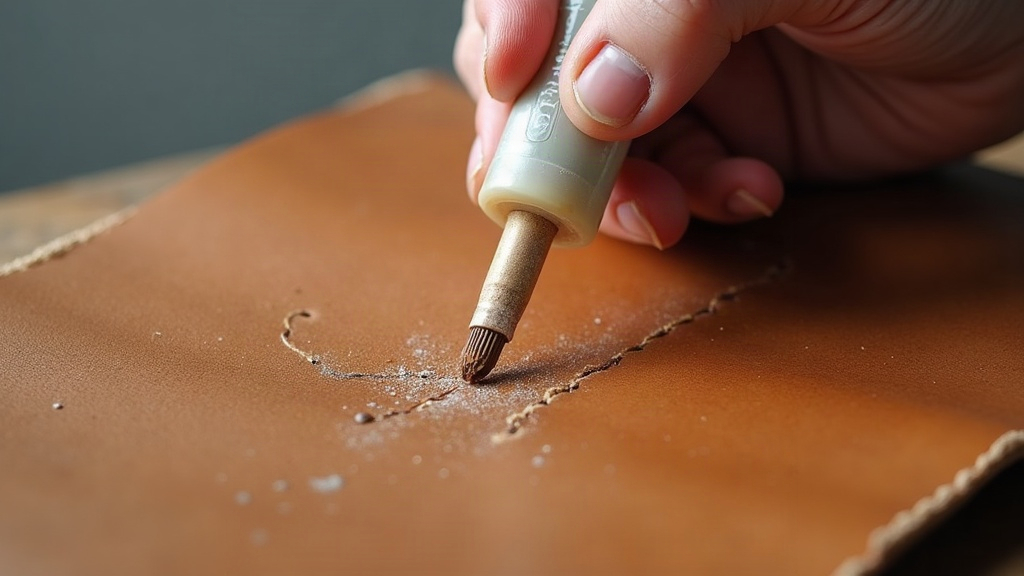
Water-based leather glue bleeding through pale vegetable-tanned leather happens when excess moisture and adhesive solids migrate through the fibers, leaving dark or shiny stains on the front face. You can stop this by controlling how much glue you use, how wet it stays, and how fast the leather absorbs moisture. No need to switch materials entirely.
This is one of the most common headaches in leathercraft, especially with natural veg-tan. It ages beautifully, sure, but it’s also highly porous and brutally unforgiving when moisture gets involved.
Why Pale Veg-Tan Leather Is So Prone to Glue Bleed
Vegetable-tanned leather is tanned with natural tannins instead of chrome salts, which leaves it more porous and more reactive to water. Pale or natural veg-tan has no dye or finish acting as a barrier, so a few things happen at once:
- Water-based glue (most PVA or leathercraft cements fall into this category) carries moisture deep into the fiber structure.
- The tannins react with that moisture and darken unevenly, producing blotchy “bleed” marks that weren’t there five minutes ago.
- Thinner cuts of leather (under 3oz) are especially vulnerable, simply because there’s less material to soak up excess liquid before it reaches the surface.
Step 1: Choose the Right Glue Consistency
Half of all bleed-through cases I’ve seen trace back to glue that’s just too wet or too thin.
- Use a glue formulated for leather, not general-purpose wood glue or craft PVA off the shelf at a hardware store.
- If your glue feels runny, leave it uncapped for 10 to 15 minutes so it thickens up a bit before you apply it.
- Don’t shake the bottle or dilute it with water. Think yogurt consistency, not milk.
Step 2: Apply Glue Sparingly and Evenly
- Use a thin, even layer with a brush, roller, or glue spreader. Never pour it straight onto the leather, tempting as that is when you’re in a hurry.
- Apply glue to both surfaces being bonded, let them sit until tacky (usually 3 to 5 minutes), then press together. This “contact bonding” approach leaves far less wet glue sitting in the leather compared to a wet-glue-and-clamp method.
- Stay at least 1/8 inch away from any edge that’ll be visible. Edges are where bleed-through shows up first and worst.
Step 3: Pre-Treat the Leather to Slow Absorption
- Lightly burnish or seal the flesh side of thin pieces with a touch of gum tragacanth or a light leather sealer before gluing. This keeps the glue closer to the surface instead of letting it soak straight through to the grain side.
- For projects where show-through is a real risk, like wallets or cardholders, try a thin liner piece sandwiched between layers. It blocks moisture migration almost completely.
Step 4: Control Pressure and Drying Time
- Clamp or press glued pieces evenly, but don’t go overboard. Too much pressure forces moisture outward through the grain, which is exactly what you’re trying to avoid.
- Slip a piece of Teflon or wax paper between your workpiece and any clamps. It’s a cheap insurance policy against accidental transfer stains.
- Let everything dry at room temperature. Rushing it with a hairdryer or heat gun pulls moisture upward faster and almost always makes bleed marks worse, not better.
What To Do If Bleeding Already Happened
Already staring at dark halos or stains? Here’s your damage control plan.
- Act fast if it’s still wet. Blot, don’t rub, with a clean dry cloth to pull out excess moisture before it sets permanently.
- Light sanding. Once the piece is completely dry, a fine-grit sanding sponge (400 to 600 grit) can smooth out light surface staining on unfinished veg-tan.
- Even it out with a wash. A heavily diluted leather dye or antique wax, applied across the whole panel, can disguise uneven blotches by unifying the overall tone. Just know this adds color, so it’s not a free fix.
- Prevention beats correction, every time. On pale veg-tan, bleed stains usually can’t be fully erased without finishing the whole piece. That’s why testing your glue on a scrap first isn’t optional, it’s basically mandatory.
Quick Prevention Checklist
- Use leather-specific, properly thickened water-based glue
- Apply thin, even coats to both surfaces (contact method)
- Keep glue well away from visible edges
- Pre-seal thin or absorbent leather before bonding
- Skip the heat-forced drying
- Always test on a scrap from the same leather batch
Conclusion
Bleed-through on pale vegetable-tanned leather is almost always a moisture problem, not a defect in the glue itself. Thicken your adhesive, apply it sparingly with the contact-bond method, seal thin or porous spots ahead of time, and let the bond dry on its own schedule. Do that and you’ll get clean, invisible glue lines even on the fussiest light-colored veg-tan. Still unsure? Test your exact leather-glue combo on a scrap piece first. Five minutes of testing beats ruining a finished project every single time.