Fix a Loose Prym Snap Socket in a Vintage Leather Jacket
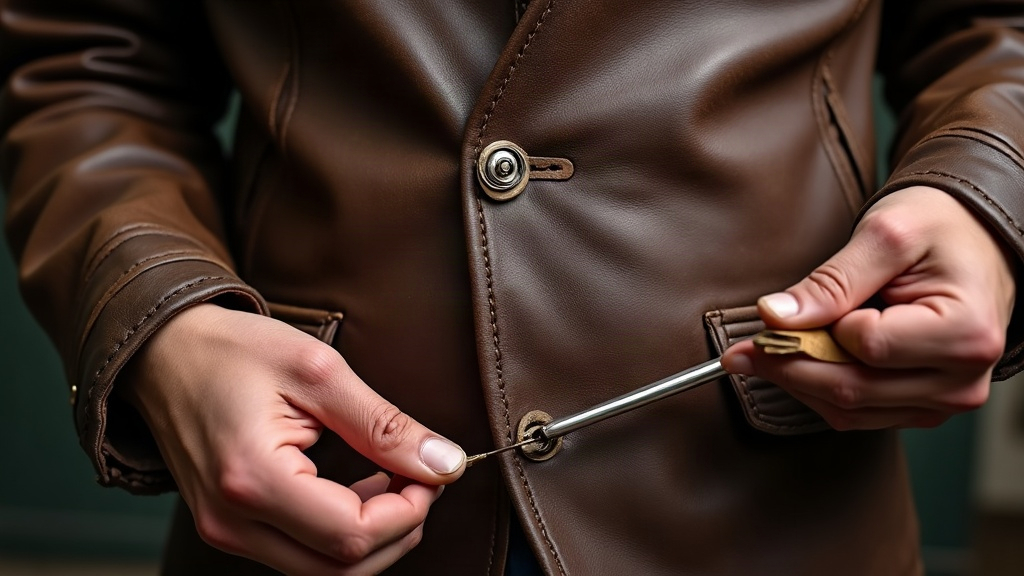
A loose Prym snap socket on a vintage leather jacket almost always comes down to one thing: the prongs have spread apart after decades of use. The snap itself isn’t broken. In the vast majority of cases you can bring back that firm, satisfying “click” just by re-tightening the hardware that’s already there, rather than ripping it out and bolting on a replacement that risks tearing up leather you’ll never get back.
Why Prym Snaps Loosen Over Time
Prym snaps, like most two-piece socket snaps, depend on tension from curved metal prongs or a small spring-loaded ball sitting inside the socket. Years of snapping and unsnapping take a toll:
- The prongs slowly flatten out or splay wider
- The leather around the base compresses and shifts under the hardware
- Dirt, oxidation, or even leftover leather conditioner cuts down the friction inside the socket
None of that means the snap is defective. It’s just mechanical fatigue, and honestly, it’s one of the easier fixes in leather repair.
What You’ll Need
- A small flathead screwdriver or an awl
- Needle-nose pliers, fine-tip if you have them
- A soft cloth
- Optional: a jeweler’s hammer plus a small anvil or steel block
- Leather conditioner for cleanup afterward
Step-by-Step Repair
1. Identify the Loose Part
Every snap closure has four pieces: the stud, the socket, and a backing plate for each. Looseness almost always shows up on the socket side, the female half the stud clicks into. Press the stud in and out a handful of times and you’ll feel pretty quickly which half has lost its grip.
2. Remove the Socket from the Leather (If Needed)
If the socket spins freely, or you just need better access, use needle-nose pliers to gently bend back the prongs on the underside of the leather. Only pry them enough to slide the socket free without tearing the leather around it. Pay attention to orientation before you pull it out. Vintage hardware isn’t always symmetrical, and getting it backward will drive you crazy later.
3. Tighten the Prongs
Most Prym sockets rely on four small prongs clamped around a center spring mechanism. With your needle-nose pliers:
- Squeeze each prong inward by roughly 1-2 degrees, no more
- Move evenly around the socket so you don’t knock it out of round
- Test-fit the stud after every single adjustment. It’s tempting to rush this, but over-tightening makes the action too stiff and can eventually stress the leather itself
4. Reinforce the Ball-and-Spring Mechanism
If the socket still feels mushy even after the prongs are tightened, the real culprit is probably the internal spring losing its tension. Use an awl to carefully pop out the small ball-and-spring insert. Check it for rust or grime, wipe it clean with a dry cloth, then reseat it. A single light drop of sewing machine oil can bring back a crisper, firmer snap. Skip heavy oils though, they just attract dust and gunk over time.
5. Reattach to the Leather
Once the socket grips the stud with real resistance again:
- Push the prongs back through the original holes in the leather
- Fold them flat with pliers, or tap them down gently with a jeweler’s hammer over a small anvil
- Press evenly on all sides so you don’t leave a bulge showing on the front of the jacket
6. Test and Condition
Snap it closed and open 10 to 15 times to make sure the resistance feels consistent from one try to the next. Finish by wiping the surrounding leather with conditioner, which helps blend away any marks left from handling it during the repair.
When You Actually Need a Replacement
Stick with repairing the original socket unless:
- The prongs have snapped off entirely
- The socket shell is cracked or corroded through
- The leather around the mounting holes has torn beyond any reasonable reinforcement
If you do hit one of those walls, track down a matching vintage Prym snap rather than grabbing a generic modern one off the shelf. eBay and specialty notions shops like Wawak still carry old-stock sizes, and the finish or diameter on a modern replacement often won’t match your jacket’s original hardware.
Conclusion
A loose Prym snap socket is about as classic and fixable a problem as you’ll find on a vintage jacket. It’s not a reason to tear out original hardware. Grab a pair of needle-nose pliers, take your time with the prong adjustments, and you’ll get that tight, authentic snap action back while keeping the jacket’s character (and resale value) intact. Save the replacement snap for when the mechanism is genuinely damaged beyond what tightening can fix.