Repairing Cracked Veg-Tan Leather Seams Without Re-Stitching
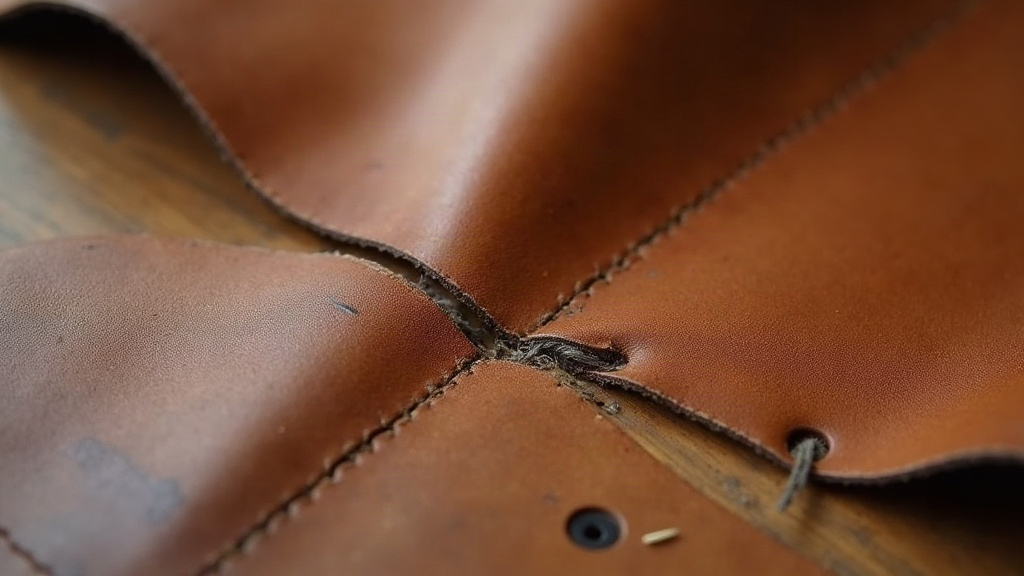
Cracked seams on vegetable-tanned (veg-tan) leather are incredibly common. You see it all the time on your favorite everyday carry items. A beloved bifold wallet or a sturdy belt suddenly shows ugly fissures right along the fold or stitch line. Fortunately, you rarely have to rip out the original thread and start from scratch. Most of the time, you can stabilize and revive these damaged veg-tan seams using flexible fillers, deep-penetrating conditioners, and precise adhesives. You get to restore both the structural integrity and the vintage look without ever touching a stitching pony.
Why Veg-Tan Leather Cracks at the Seams
Leatherworkers prize veg-tan for its solid temper and how beautifully it takes tooling and dye. But that exact same rigidity makes it highly susceptible to surface cracking wherever it bends repeatedly. Seams take the brunt of the abuse for a few specific reasons:
- Stitch holes weaken the fiber structure. Every punch creates a tiny stress point where a tear can easily begin.
- Repeated folding fatigues the top grain. Think about how many times a day you flip your wallet open and closed. That constant motion eventually breaks down the leather fibers.
- Dry leather loses its natural oils. Deprived of moisture, the surface turns brittle and snaps instead of bending gracefully.
- Thin edge folds lack shock absorption. Skived down edges have less bulk to handle movement, causing micro-tears to surface right at the seam edge first.
Catch the damage early enough (before a split rips entirely through the stitching holes) and a completely non-destructive repair is easily within reach.
Step 1: Clean and Assess the Damage
Never try fixing a dirty seam. Grab a reliable, leather-safe cleaner and wipe down the affected area to strip away daily grime, skin oils, and layers of old polish. Getting the leather bare lets you see exactly what you are dealing with.
- Surface cracking: You will spot fine, spiderweb lines in the top grain. The seam itself remains structurally secure.
- Deep cracking: These ugly fissures trace the stitch line directly and might even expose the thread or internal lining.
- Through-cracks: The leather fibers have separated completely. This requires a backing patch and actual reinforcement (which falls outside the scope of this quick surface fix).
For those first two categories, put away your needles. Re-stitching is completely unnecessary.
Step 2: Rehydrate the Leather First
Working on bone-dry leather is a recipe for disaster. The material will just crack further as you manipulate it. You need to apply a light, even coat of pure neatsfoot oil or a dedicated veg-tan conditioner. Stay far away from anything packed with silicone, because it creates a slick barrier that will absolutely ruin your chances of getting adhesives to bond later on.
- Dab a modest amount of oil onto a soft cotton pad.
- Let the leather drink it in for about 15 to 20 minutes.
- Buff away any sitting excess. The leather should feel soft and supple under your thumb, never greasy.
This single step works wonders. Plumping up the relaxed fibers often makes those hairline seam cracks nearly vanish on their own.
Step 3: Fill the Crack with a Flexible Leather Filler
If you still have obvious gaps but the thread is intact, a flexible leather filler is your best friend. Make sure it is an acrylic-based product. A rigid epoxy will just shatter the next time the leather bends. You need a compound that stretches and moves with the hide.
- Scoop up a tiny bit of filler with a palette knife or a simple wooden toothpick. Work the paste deeply into the crack itself rather than just globbing it over the top.
- Carefully feather the edges outward so the repair melts into the surrounding natural grain.
- Walk away and let it cure completely. Give it a solid two to four hours before you start testing the flex.
- For particularly deep gouges, you might need a second thin layer. Just remember to lightly sand the first coat with 400-grit sandpaper so the new layer grips properly.
Step 4: Reinforce from the Underside
Does your project have an open lining or an exposed flesh side, like the interior cash slot of a wallet or the back of a messenger bag flap? If so, you have a golden opportunity to add structural support from behind. Apply a very thin bead of flexible contact cement or specialized leather adhesive directly along the inside of the seam crack. This reinforces the weak point without requiring fresh awl holes or new thread.
- Stick strictly to a flexible, water-based leather adhesive. Super glue will dry rock hard and cause a massive blowout later.
- Press the glued area completely flat and clamp it down for 10 to 15 minutes while the bond sets.
- This hidden backing acts like a microscopic splint. It absorbs the tension of opening and closing, taking all that harsh stress right off the fragile surface and the existing stitching.
Step 5: Recolor and Seal
Vegetable-tanned leather naturally darkens as it ages and absorbs oils. Because of this, your newly filled repair patch will probably look glaringly bright against the older leather.
- Grab a matching leather dye or a rich antique gel. Daub it on in very thin, patient layers until the new tone matches the surrounding patina.
- Lock down your hard work with a flexible leather sealant or a heavy beeswax-based balm. This seals in the essential moisture and gives the repair a protective shield against the elements and daily bending.
When You Do Need to Re-Stitch
The filler and glue method works beautifully for surface damage and moderate seam fatigue. But you have to be realistic. If the waxed thread itself has snapped, or if the leather has physically torn completely through the stitch holes, a dab of acrylic filler will not hold up to daily use. In those extreme cases, biting the bullet and re-stitching the seam (or grafting on a reinforcing leather patch) becomes the only permanent solution.
Preventing Future Cracking
Maintenance is always cheaper and easier than repair.
- Condition your veg-tan goods every three to six months. Bump that up to every couple of months if you live in a dry desert climate.
- Stop cramming ten credit cards into a slot built for three. Overloading forces the seams to stretch far beyond their intended limits.
- Keep your leather out of direct sunlight and away from hot car dashboards. Heat literally bakes the natural oils right out of the hide.
- Tackle tiny hairline fractures the moment you see them. A quick dab of oil today saves you from a two-hour repair job next year.
Conclusion
A cracked veg-tan seam does not automatically mean your favorite gear is destined for the trash bin or an expensive trip to the local cobbler. Taking the time to properly clean, hydrate, and carefully fill the damage with flexible compounds breathes new life into the leather. You get to preserve the original stitching while shoring up the structural weak points from the inside out. Spotting those tiny stress lines early and keeping up with a routine conditioning schedule guarantees your leather goods remain sturdy, flexible, and looking incredible for decades.