Saltwater-Resistant Leather Sheath for a Folding Sailor's Knife
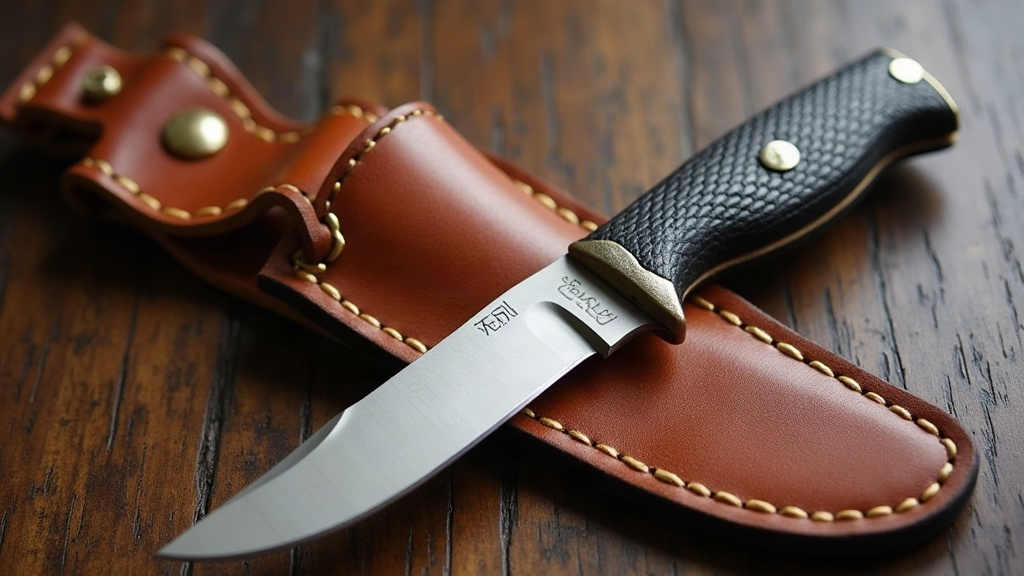
Building a Saltwater-Resistant Sheath for a Folding Sailor’s Knife
Stitching two pieces of leather together is the easy part. Making that sheath survive a season of salt spray, humidity, and constant soaking is a different problem entirely. Untreated leather doesn’t stand a chance out there, it’ll crack and rot before summer’s over. So the materials you pick, how you build the thing, and what you finish it with all matter just as much as the pattern you cut. This guide covers the whole process: picking leather that can actually take a beating, building the sheath properly, and sealing it so corrosion and rot don’t get the final word.
Why Standard Leather Sheaths Fail at Sea
Most sheaths you’ll find on a shelf were never meant to go near water. They’re made from vegetable-tanned leather with a light oil finish, the kind that soaks up saltwater instead of shedding it, then dries stiff and splits. Salt itself is part of the problem: it leaves mineral deposits behind that harden the fibers, and the endless wet-dry cycle aboard a boat invites mold and rots out stitching far quicker than ordinary outdoor wear ever would.
A folding sailor’s knife, usually a rigging knife with a marlinspike built in, lives clipped to a belt or lanyard right in the thick of all this. Let the sheath fail and that knife (often not cheap, with a shackle key or fid attached) ends up either lost overboard or rusted shut.
Choosing the Right Leather
Hides don’t all behave the same way once they hit salt water:
- Vegetable-tanned leather (8-10 oz) is the obvious starting point. It molds beautifully when wet and locks into shape once it’s dried and conditioned.
- Skip chrome-tanned leather for the main body. It handles water inconsistently and tends to fight with oil-based sealants rather than absorb them.
- Latigo leather is a solid alternative, already loaded with waxes and oils that push back against moisture. Plenty of boat riggers reach for it first.
Thickness isn’t an afterthought either. An 8-10 oz hide for the body paired with a lighter 6-7 oz piece for the belt loop or welt gives you real durability without turning the sheath into a brick on your hip.
Step-by-Step Construction
1. Pattern and Wet-Molding
Trace around the folded knife with about a half-inch of margin, then wet-mold the leather directly over the knife itself (wrap it in plastic first so nothing stains) using a mallet and a smooth bone tool to work a tight, custom pocket. Done right, this closes up the gaps where water would otherwise pool.
2. Stitching for Durability
Cotton and linen thread don’t belong here. Waxed polyester or nylon holds up to UV and saltwater far longer, so use one of those instead. And stitch it with a proper saddle stitch, two needles, one thread, working from both ends. It’s slower, sure, but if one section of thread gets nicked or worn through, the whole seam doesn’t just fall apart.
3. Reinforcing the Belt Loop
This is the piece under the most tension day to day, usually riding a lanyard or belt loop. Double or triple stitch it, no exceptions, and think about adding a secondary welt strip there too, since wet rope and harness lines will chafe that spot relentlessly.
Sealing Against Saltwater
Here’s the part most tutorials gloss over, and honestly it’s the one decision that separates a sheath that lasts five seasons from one that’s falling apart in five weeks.
- Condition first with a beeswax-based balm. Steer clear of pure neatsfoot oil here, it goes soft on you too easily once moisture gets involved.
- Apply a marine-grade sealant, something like Sno-Seal or a beeswax/pine tar blend. Warm it gently with a hairdryer as you work it in so it actually soaks into the fibers instead of just sitting on top.
- Layer on a topical water repellent like Obenauf’s LP, or go with a silicone-free waterproofing wax, as an outer barrier.
- Re-seal every 2-3 months if you’re out on salt water regularly. This one habit, more than any specific product, is what keeps the sheath alive long-term.
Hardware Considerations
Stick to stainless steel rivets and snaps. Brass will tarnish but still holds up decently if that’s what you’ve got. Regular steel is a different story: it rusts within weeks and leaves ugly stains bleeding into the leather. A stainless D-ring sewn into the welt gives you a sturdy lanyard point without putting extra stress on the main pocket’s stitching.
Maintenance Tips for Longevity
- Rinse with fresh water after heavy salt exposure, then let it air dry somewhere shaded, away from direct heat or sun.
- Don’t ever put a wet sheath away with the knife still in it. Trapped moisture speeds up leather rot and blade rust at the same time.
- Pay special attention to re-waxing along the stitch lines. Thread wicks up moisture faster than the leather around it does.
Conclusion
It really comes down to three things: the right leather (vegetable-tanned or latigo), waxed synthetic thread sewn with a genuine saddle stitch, and a sealing-and-maintenance habit you actually stick to with beeswax or marine-grade waterproofing. Neglect any one of these three and salt will eventually win, no question. Get all three right, though, and the sheath will likely outlast the knife it was built for, which is really what any working sailor’s gear should do.