Hand-Cutting an Asymmetrical Leather Journal Cover: Beginner to Pro
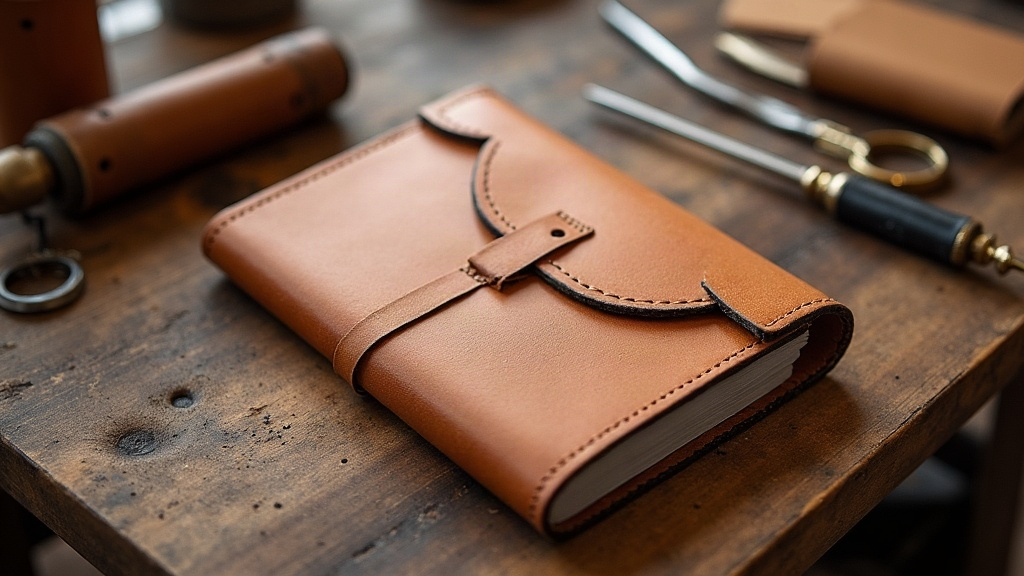
Cutting an asymmetrical leather journal cover by hand is one of the fastest ways to grow as a leatherworker. Straight lines and mirrored templates only teach you so much. Once you start working with off-center flaps and diagonal cuts, you’re forced to actually think about proportion, balance and flow instead of just copying a symmetrical shape. This guide takes you through the whole process, from drafting that first lopsided pattern to making clean, confident cuts, whether you’ve never held a utility knife before or you’ve been refining your technique for a decade.
Why Choose an Asymmetrical Design?
Asymmetry isn’t just a stylistic flex. It brings real functional perks that a mirrored cover simply can’t offer:
- Unique closures. An off-center wrap strap or a diagonal flap instantly reads as custom-made, not something pulled from a kit.
- Smarter pocket placement. You can tuck a card slot or pen loop exactly where it’s useful, instead of forcing it into a “balanced” spot that doesn’t actually work with how you hold the journal.
- A design signature. Try replicating an asymmetrical pattern exactly. It’s nearly impossible without the original template, which matters a lot if you’re selling your work and want it to stay recognizably yours.
The catch? Precision. There’s no mirror-image shortcut here. Every curve, every angle has to be measured and cut on purpose. One sloppy line and the whole piece looks off, not “artfully imperfect.”
Tools You’ll Need
Beginner Essentials
- Cutting mat (self-healing, at least 18x24”)
- Rotary cutter or sharp utility knife
- Metal ruler/straightedge with cork backing (keeps it from sliding mid-cut)
- Awl for marking stitch holes
- Cardstock or manila folder for test templates
- Tracing wheel or stylus
Advanced Additions
- Head knife or round knife for sweeping curves
- Skiving knife for thinning edges
- French edge creaser and burnisher
- Pattern weights (washers work fine, or get dedicated leather weights)
- Edge beveler set (sizes #0–#2)
Step 1: Draft the Pattern on Paper First
Don’t even think about cutting leather straight from an idea in your head. Start on cardstock, every time.
- Measure your journal’s closed dimensions: height, width, spine thickness.
- Sketch the main body as a rectangle, then break the symmetry by extending one side 1 to 2 inches for a wrap-around flap or angled closure.
- Add a curved or diagonal edge on just one side. This is your signature asymmetrical element, the thing that makes the whole cover feel deliberate.
- Cut the paper template out and physically fold it around your journal. Test the fit before the leather ever comes near your knife.
Pro tip: Number each pattern piece and draw an arrow for grain direction. Asymmetrical pieces get flipped by accident more often than you’d think, and once that happens, your whole layout is ruined.
Step 2: Choose and Prep Your Leather
Vegetable-tanned leather at 5-7oz is the go-to for structured journal covers. It holds a crease well and burnishes beautifully. If you want a softer, more organic drape for your asymmetrical shape, switch to 2-3oz chrome-tanned leather instead.
- Let the hide lie flat for 24 hours before cutting so it has time to relax.
- Check the surface for natural marks or scars first. Here’s the upside of asymmetry: you can plan your cuts around imperfections far more easily than with a symmetrical design, since there’s no mirrored half that has to match.
Step 3: Transfer the Pattern
- Weight the paper template onto the flesh side of the leather, never the grain side. Tracing on the grain side will leave visible scoring you can’t undo.
- Trace the outline with a stylus. Press firmly enough to leave a clear line, but not so hard that you score the surface.
- Mark every stitch line and fold point with an awl.
Step 4: Cutting Techniques by Skill Level
Beginner Method
Cut straight sections with a ruler and utility knife using several light passes instead of one heavy cut. It keeps your lines accurate and cuts down on blade wander, especially where curves start.
Intermediate Method
Switch to a rotary cutter for the longer curved edges. It tracks more smoothly than a blade when you’re following an asymmetrical sweep.
Advanced Method
Bring out the head knife for compound curves. Hold it at a steady 45-degree angle and rock the blade through the leather rather than dragging it across. That rocking motion is what gives you the clean, bevel-free edge you see on professional pieces.
Step 5: Finishing the Asymmetrical Edges
Asymmetrical covers usually expose more edge length than a symmetrical one would, so finishing isn’t optional here.
- Run an edge beveler along every cut edge to knock off the sharp corners.
- Dampen the edge slightly and burnish it with a wooden slicker or a piece of canvas until it’s glass-smooth.
- Finish with edge paint or beeswax, both for color-matching and for a bit of water resistance.
Common Mistakes to Avoid
- Skipping the paper mockup. Asymmetry hides fit issues that only become obvious once the cover is actually wrapped around the journal.
- Cutting against the grain direction. The leather will stretch unevenly over time, and you won’t notice until months later.
- Rushing the curves. Slow down on head-knife cuts. Speed is, hands down, the number one cause of ragged asymmetrical edges.
Conclusion
Hand-cutting an asymmetrical leather journal cover rewards patience and careful planning far more than it rewards raw cutting speed. Start with a paper template, respect the grain, and work your way from straightedge cuts up to head-knife curves as your confidence builds. Once you’ve got the hang of it, asymmetry stops feeling like a challenge and starts becoming your signature. Every cover you make from that point on will look intentionally, unmistakably one-of-a-kind.