Hand-Stitching a Leather Spectacle Case for High-Bridge Sunglasses
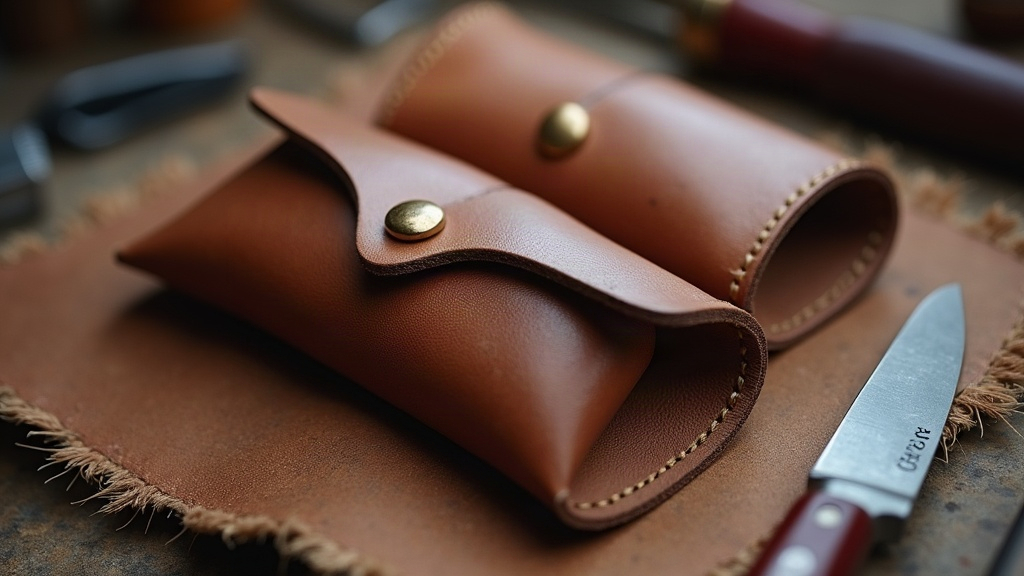
If you wear high-bridge sunglasses, you already know the drill: pop them into a standard case and something gets pinched. The bridge, the lenses, sometimes both. Most off-the-shelf cases are molded for low-profile frames, so anything chunkier or wider just doesn’t fit right. The fix, though, is a lot simpler than it sounds. Hand-stitch your own leather spectacle case, built to the exact dimensions of your frame, using a handful of basic tools and one focused evening.
This guide covers the whole process, from measuring your sunglasses to tying off the last stitch. Even if you’ve never touched a leather needle before, you’ll end up with something sturdy and good-looking.
Why High-Bridge Sunglasses Need a Custom Case
High-bridge frames (think aviators, oversized acetates, a lot of premium sport sunglasses) sit higher on the face and arch more deeply at the nose. Standard cases are built for a flatter, more compact profile. That mismatch causes real problems:
- The bridge gets pinched or bent under repeated pressure.
- Lenses scratch against the case’s interior seams.
- The flap or closure never fully seals, so dust and grit sneak in.
A hand-cut, hand-stitched case sidesteps all of this, because you’re building the pattern around your glasses, not some generic average pulled from a factory mold.
Tools and Materials You’ll Need
No need for a full workshop. Here’s what actually matters:
- Vegetable-tanned leather, 2–3 oz (0.8–1.2mm) weight, thin enough to fold, thick enough to hold its shape
- Cutting mat, ruler, and a sharp utility or rotary knife
- Diamond stitching chisels (4–5 prong, 3.5mm spacing works well)
- Waxed linen or polyester thread in a color that complements the leather
- Two harness needles (blunt-tip, size 2/0 or similar)
- Edge beveler and burnisher (or just a canvas scrap and water for a quick DIY burnish)
- Leather glue or contact cement to tack pieces before stitching
- Optional: snap button or magnetic closure, poly cement for edge finishing
If you’re starting completely from zero, expect to spend somewhere between $40 and $70 on a beginner kit.
Step 1: Measure Your Sunglasses Precisely
Fold your sunglasses and lay them flat. Then measure:
- Length, from the tip of the arms to the front edge of the lenses
- Height, top of the lens to the bottom edge, with extra room built in for that raised bridge
- Depth, the thickness of the folded frame once stacked
Add 8–10mm of ease to every dimension so the glasses slide in without catching, and tack on another 5mm of height specifically to clear the bridge. That extra 5mm is the one detail almost every generic case skips, and it’s exactly why those cases fail high-bridge frames.
Step 2: Draft and Cut Your Pattern
Start with a rough sketch on paper, either an envelope shape or a taco-fold:
- A single piece folded at the base (taco-style) is the easiest route for beginners. Fewer seams, fewer places to mess up.
- A two-piece case (separate front and back panels) looks boxier and more structured, but you’ll be stitching around a full perimeter, which takes more patience.
Trace the paper pattern onto your leather with an awl or scribe, then cut on your mat using a steel ruler as a guide. Go slow here. The accuracy of this cut determines how clean your stitch line ends up looking later.
Step 3: Prep the Edges and Mark Stitch Lines
- Bevel every outer edge before you stitch. Doing it afterward is much harder, trust me.
- Use a stitching groover, or just a scribe set 3–4mm from the edge, to mark an even sew line.
- Keep your chisel holes spaced consistently, roughly 4mm apart, for that clean, professional look.
Step 4: Glue, Punch, and Saddle Stitch
- Apply a thin, even coat of contact cement to both surfaces that will meet. Let it sit until tacky, then press together.
- Punch your stitching holes with the diamond chisel, working in short bursts of 4–5 holes at a time so the line stays straight around curves.
- Thread two needles onto one length of waxed thread and saddle stitch, passing the needles through each hole from opposite sides. This method holds up better than machine stitching: if one stitch snaps, the seam won’t unravel on you.
- Backstitch the final two holes to lock everything in place, trim the thread close, and seal the end with a small drop of glue.
Step 5: Burnish and Finish
Dampen the raw edges just slightly, then burnish with a wood or bone tool (a canvas scrap works fine too) until the surface turns smooth and glossy. If you want added protection against dust and scratches, add a snap closure, or go simple with a leather tab-and-loop.
Common Mistakes to Avoid
- Skipping the ease allowance. A case that’s too tight stresses the bridge every single time you open or close it, and over months that adds up.
- Uneven stitch spacing. Always mark with a chisel. Eyeballing it with an awl almost never comes out even.
- Using leather that’s too heavy. Anything past 4oz gets stiff and refuses to fold cleanly, especially for a taco-style build.
Conclusion
A hand-stitched leather case built around your own high-bridge sunglasses fixes what retail cases simply can’t: real clearance and real protection for an awkward frame shape. Grab some vegetable-tanned leather, a few basic tools, and work through a patient saddle stitch, and you’ll walk away with a durable, custom-fit case in one sitting. The best part? It only gets better-looking the more you use it.