Winterizing a Leather Camera Strap for Subfreezing Shoots
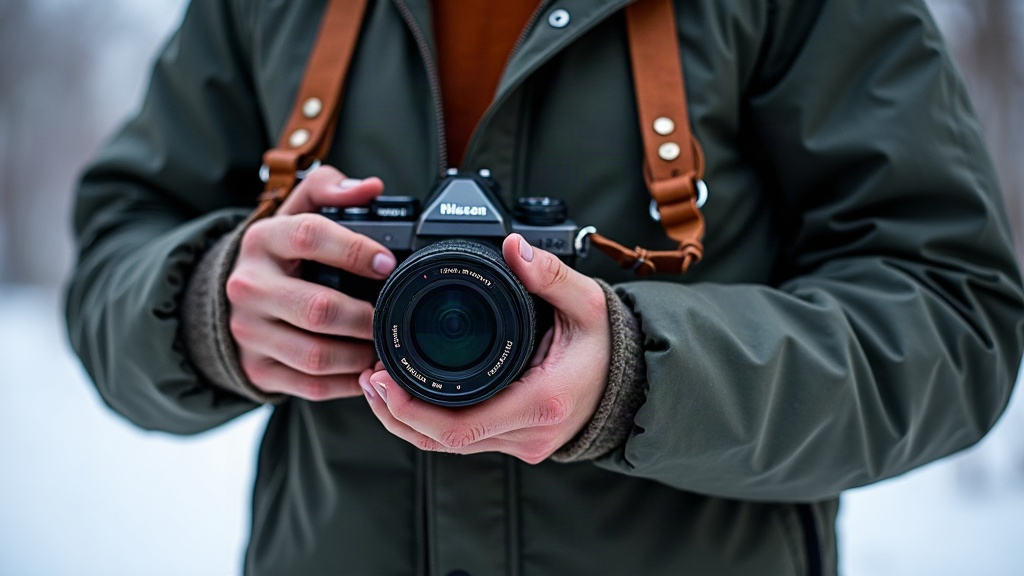
Winterizing a leather camera strap means conditioning it, waterproofing it, and putting it through a real stress test so the leather and hardware stay flexible, grippy, and crack-free once temperatures drop below freezing. For landscape photographers who hike out at dawn through snow, wind, and ice, a strap you’ve ignored all year can stiffen up, crack, or even snap at the worst possible moment, right as you’re leaning over a ridge for that one shot you got up at 4 a.m. for. Here’s exactly how to prep your strap before the cold season hits.
Why Cold Weather Is Brutal on Leather Straps
Leather is a natural, fibrous material, and it depends on retained oils and moisture to stay flexible. Subfreezing air is bone-dry, and it pulls moisture out of leather fibers faster than most people expect. The result:
- Stiffening - the strap turns rigid and uncomfortable against a parka or bare neck
- Cracking - dried-out fibers split, especially at fold points near the clips
- Reduced grip - cold, hardened leather gets slick the moment snow or frost settles on it
- Hardware seizing - metal rings and buckles can stick or corrode faster through freeze-thaw cycles
Ever pulled a stiff leather belt out of a cold car trunk? That dull, board-like feeling. Now picture that same strap carrying the full weight of a full-frame body and a 70-200mm lens across an icy trail.
Step 1: Deep-Clean Before You Condition
Don’t condition over dirt, road salt, or old sweat, it just traps everything underneath. Wipe the strap down with a barely damp microfiber cloth, paying extra attention to the sections that touch your neck and shoulder. Let it air-dry completely at room temperature. Keep it away from radiators or heater vents, since that kind of direct heat causes uneven shrinkage you can’t fix later.
Step 2: Apply a Cold-Rated Leather Conditioner
Not every conditioner holds up once temperatures fall. Look for:
- Beeswax or mink oil-based conditioners - they stay pliable in low temperatures far better than water-based creams
- Neatsfoot oil for deeper penetration on thicker straps (use it sparingly, too much and it softens the stitching)
- Skip petroleum-heavy products; they tend to gum up in extreme cold
Apply a thin, even coat with a soft cloth, working it into the grain in small circles. Give it at least 12 hours to absorb before a second light coat. Two thin coats beat one thick one, every time. Overload the leather and you end up with a tacky surface that grabs every bit of grit and snow that touches it.
Step 3: Waterproof Against Snow and Slush
Snow melts the second it touches warm hands or gear, and it soaks straight into unprotected leather. A silicone-free waterproofing wax (beeswax-based options work well here) builds a barrier without choking off the leather’s natural breathability. Apply it after conditioning, buff off whatever’s left on the surface, and reapply every few weeks if you’re shooting through a hard winter.
Step 4: Check and Lubricate the Hardware
Freeze-thaw cycles push moisture into metal rings, D-clips, and buckle pins, and that’s a direct path to rust or stiffness.
- Wipe hardware dry after every outing, don’t let it sit wet overnight
- Apply a tiny drop of silicone-based lubricant to swivel points
- Check the stitching around the hardware loops closely. This is usually the first spot where cold-stressed leather gives out
Step 5: Flex-Test Before You Head Out
Before a subfreezing shoot, flex the strap gently at room temperature. Then let it sit outside (or in a cooler) for about 20 minutes and flex it again. If it feels noticeably stiffer, or you spot any whitening along the grain, give it another conditioning pass before you trust it with your gear on an exposed ridge at 6 a.m.
Field Tips for Subfreezing Landscape Shoots
- Keep a base layer between the strap and your skin. Bare-skin contact speeds up moisture loss, both from you and from the leather
- Don’t leave the strap taut in extreme cold during long stationary waits; a bit of slack takes pressure off the stitched points
- Bring it back indoors gradually - let the strap (and camera) return to room temperature slowly, away from a direct heat source, so you don’t get condensation forming inside the leather fibers
Conclusion
A properly winterized leather camera strap isn’t just about comfort, it’s about whether your gear holds together when you’re miles from the car in freezing conditions. Clean it, condition it with a cold-rated product, waterproof the surface, keep the hardware lubricated, and flex-test it before any major shoot. A bit of effort in autumn means one less thing on your mind when you’re out chasing first light over a frozen landscape.