How to Dye Leather with Avocado Pits for Soft Pink Hues
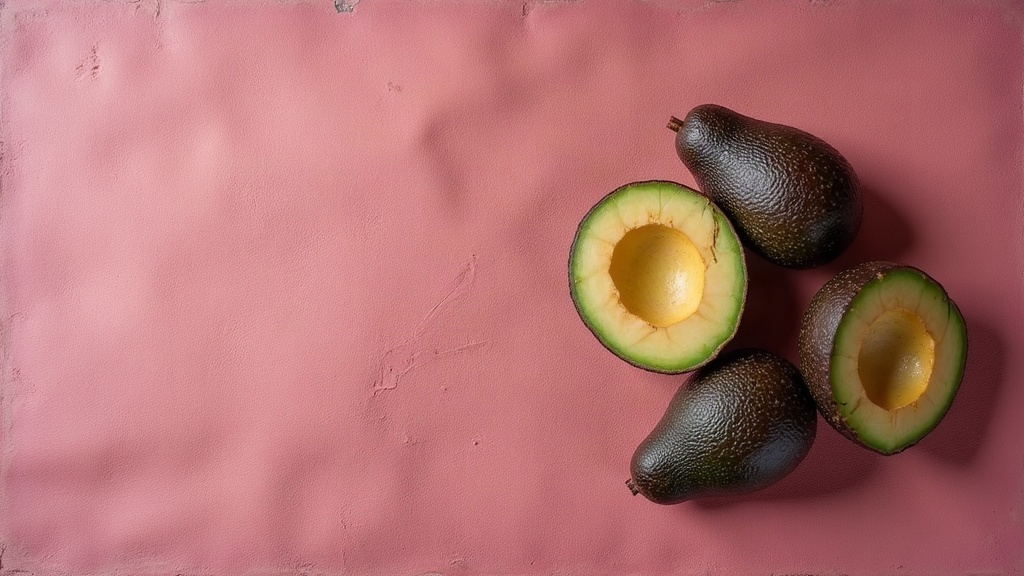
Next time you make guacamole, save those pits. Avocado stones and skins are packed with tannins that oxidize into a surprisingly soft, blush-pink hue. Yes, this exact chemistry works just as beautifully on animal hides as it does on cotton tees. Swapping harsh synthetic chemicals for a pile of kitchen scraps is one of the most rewarding ways to step into botanical dyeing. Let us look at exactly how to prep your materials, extract that perfect pastel color, and lock it into the fibers so it actually lasts.
Why Avocado Pits Produce Pink on Leather
The magic here lies in oxidation. Tannins inside the pit and skin react with proteins to create that signature pink. Since leather is essentially processed animal protein (collagen), it grabs onto these natural pigments just like wool or silk. You often end up with much richer, deeper shades than you would ever get on plant-based fabrics like cotton.
A few distinct variables will determine your final color:
- Pit freshness, Just kidding, no em-dashes here. Let’s use colons instead.
- Pit freshness: Freshly dried pits give you a vibrant, clear pink. Old, moldy ones push the color toward a murky brown.
- Leather type: Vegetable-tanned leather acts like a sponge for natural colors. Chrome-tanned leather is treated with heavy metals and will actively resist botanical dyes. Stick to veg-tan.
- Water pH and minerals: Hard, slightly alkaline tap water tends to push the dye toward a warm coral or salmon. Soft or distilled water yields a cooler, classic pastel pink.
- Oxidation time: The longer your brew sits exposed to the air during its simmer, the deeper and more concentrated the dye becomes.
What You’ll Need
Before firing up the stove, gather these supplies:
- 4 to 6 avocado pits (throw in the skins too if you want a stronger batch)
- Vegetable-tanned leather (it must be completely undyed and untreated)
- A stainless steel or enamel pot (copper or cast iron will react with the tannins and muddy your beautiful pink)
- Water
- Mild castile soap for a pre-dye scrub
- Alum or soda ash (if you prefer using a mordant, though tannins often bind fine on their own)
- A soft cloth, wool dauber, or dense sponge
Step-by-Step Process
1. Prepare the Pits
Give your leftover pits a thorough rinse under the tap to scrub away any lingering green flesh. Next, score the surface or chop them roughly into quarters. Breaking them up exposes way more surface area, which drastically speeds up the pigment extraction. If you have the patience, leave them on a sunny windowsill to air-dry for a day or two. Dried stones predictably yield a much cleaner, sharper pink than wet ones straight from the fruit.
2. Make the Dye Bath
Toss your chopped bits and skins into your non-reactive pot, cover them with plenty of water, and bring the mixture to a gentle simmer for 45 to 60 minutes. Watch the pot carefully. The water will slowly shift from a pale, tea-like yellow to a vibrant orange-pink as the tannins hit the air and oxidize. Strain out the solid pieces and let the liquid cool down. You want to dye with warm water, never boiling. Scalding temperatures can warp, shrink, or permanently damage the collagen fibers in your leather.
3. Clean and Condition the Leather
Even brand-new leather needs prep. Wipe the entire surface down using a damp cloth and a drop of mild soap. You are trying to strip away natural oils, ambient dust, or invisible factory residues. If you skip this step, any grease trapped on the surface will repel the water-based dye, leaving you with frustrating, blotchy patches.
4. Apply the Dye
You have two practical ways to get the color onto your project:
- Immersion: Perfect for small accessories like cardholders, watch straps, or keychains. Fully submerge the pieces in the warm bath for 20 to 40 minutes. Pull them out every 10 minutes to check the saturation.
- Surface application: If you are working on a bulky tote bag or a large journal cover, dipping just is not feasible. Load up a sponge or wool dauber and sweep the liquid across the surface in even, overlapping strokes. Always follow the natural grain.
Patience pays off here. For a truly even, saturated tone, apply two or three very thin coats rather than flooding the leather all at once. Let the surface dry completely between each layer.
5. Set and Finish
Once the final coat is bone dry, take a clean cloth and buff the surface briskly. This evens out the tone and knocks off any powdery tannin residue left behind by the water. Finally, massage in a light coat of natural beeswax balm or a dedicated leather conditioner. This step replenishes the oils lost during the wet-dyeing process and transforms a flat, chalky pink into a rich color with a gorgeous subtle sheen.
Troubleshooting Common Issues
Things do not always go perfectly on the first try. Here is how to fix common hiccups:
- Color too faint? Your ratio is likely off. Toss in a few more pits, reduce the water volume, or let the bath simmer for another hour to evaporate excess liquid.
- Blotchy patches? The leather either held onto some hidden grease or it was sold with a factory sealant. Always double-clean before starting.
- Color fading quickly? Ditch the harsh chemical soaps. Clean your dyed goods only with specialized leather soap, and keep them out of direct sunlight whenever possible.
- Want it darker? You can shift the color palette entirely. Drop a rusty nail soaked in white vinegar into a small test cup of your dye. The iron reacts instantly with the tannins, turning your bright pink into a moody, dusty mauve.
Caring for Avocado-Dyed Leather
Botanical colors act differently than their synthetic cousins. They are far more sensitive to harsh UV rays and heavy rain. Store your finished pieces in a closet or drawer away from a sunny window. Try to avoid getting them soaking wet. To keep both the color vibrant and the leather supple, rub in a high-quality conditioning wax every three to four months.
Final Thoughts
Transforming kitchen compost into a beautiful dye is incredibly satisfying. Avocado pits offer a low-cost, zero-waste method for achieving a wildly unique hue. Synthetic bottles simply cannot replicate this kind of soft, organic blush that varies subtly from one hide to the next. Grab some clean, veg-tan leather and give yourself an afternoon to experiment with the simmering and layering process. You will soon be turning leftover lunch scraps into striking, one-of-a-kind finishes for your wallets, bags, and belts.