Weatherproof Leather Map Case for Bicycle Touring: Build Guide
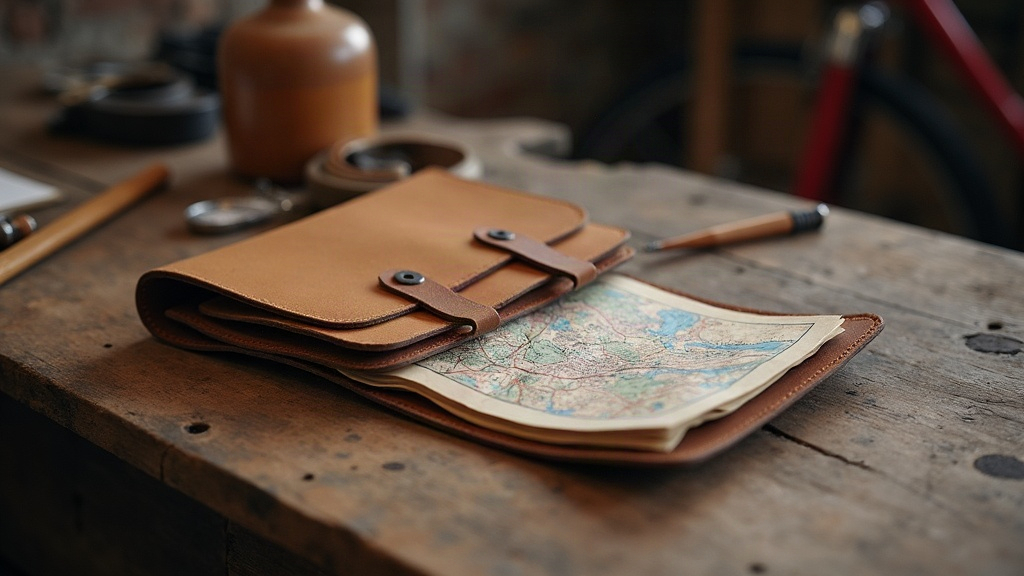
A weatherproof leather map case is one of those pieces of gear that nobody talks about until they’re standing in the rain trying to read a soggy cue sheet. It keeps paper maps, route cards, and notes dry and legible through rain, mud, and plain old sweat, and it mounts securely enough to your handlebars or top-tube bag that you can glance at your route without pulling over every five minutes. Build one yourself and you control the fit, the durability, the weather resistance. Try getting that from a mass-produced plastic sleeve picked up at a bike shop.
Why Leather Still Beats Plastic for Touring Maps
Plastic map sleeves crack when it’s cold, fog up when it’s humid, and half the time they don’t even give you a real way to attach them to the bike. A properly treated leather case does better on every count:
- Structural rigidity that keeps a folded map flat and readable even in a stiff headwind
- Natural water resistance once oiled or waxed correctly, without the brittleness you get from PVC
- Longevity: vegetable-tanned leather develops a patina and can outlast several tours
- Repairability: stitching and edges can be resewn or re-treated, something you simply can’t do with bonded plastic
There’s a tradeoff, sure. Leather weighs more and needs upkeep. But on a multi-week tour, when reliability matters more than shaving off a few grams, leather wins hands down.
Choosing the Right Leather
Not every leather behaves the same once it gets wet.
Vegetable-Tanned Leather (Recommended)
This is the go-to choice for weatherproof cases, mainly because it takes wax and oil treatments so well and holds its molded shape. Aim for 2-3 oz (roughly 0.8-1.2mm) for the main body. Thick enough to give structure, thin enough to fold without splitting at the crease.
Chrome-Tanned Leather
More water-resistant right off the hide, but stubborn to treat and shape. It earns its keep as a lining rather than the outer shell.
Avoid
Bonded leather or “genuine leather” splits. These delaminate fast once they’ve been through a few rain cycles, which is exactly what touring throws at them.
Core Design Elements
A Clear Window Panel
Most touring map cases need a transparent front so the map stays protected but still readable. Use a flexible, UV-resistant vinyl or TPU window and stitch it into the leather frame. Don’t glue it. Adhesives give up after enough heat and rain cycling, usually right when you need the case most.
Fold-Flat Construction
Build the case roughly A4/A5 sized, or matched to whatever fold your region’s touring maps use, with a flap that overlaps at least 1.5 inches. That overlap matters more than people think; anything less and wind-driven rain finds its way in at the seam.
Handlebar or Bag Mounting
A few mounting approaches work well:
- Snap-on straps with Velcro or a leather buckle closure wrapped around the handlebar stem
- D-ring loops sewn into the back panel, useful for attaching to a top-tube bag or stem bag
- Magnetic closures (small rare earth magnets tucked into leather pockets) for quick one-handed access without fiddling with buckles
Stitching That Survives Rain
Stick with waxed polyester or linen thread. Cotton rots the moment it gets consistently wet, and on tour, it will. A saddle stitch (two needles, one thread) beats a machine lockstitch here, because if a single stitch fails, the whole seam doesn’t unravel on you mid-ride.
Waterproofing the Leather
- Clean the leather with a damp cloth first, just to clear off dust before anything else goes on.
- Apply a beeswax-based leather balm, or a mix of beeswax and neatsfoot oil, working it in with gentle heat (a hairdryer on low setting does the job) so it actually soaks into the fibers instead of sitting on top.
- Let it cure for 24-48 hours before putting on a second, lighter coat.
- Seal the seams with a thin bead of leather-safe seam sealant, or just rub extra wax directly into the stitch holes.
- Re-treat every 2-3 months during active touring, sooner if you’ve just ridden through a serious downpour.
Skip silicone sprays. They mess with future wax applications and can even eat away at stitching glue on any bonded parts of the case.
Testing Before You Tour
Before you trust a brand-new case on a multi-day route, run it through a few checks:
- Submerge a folded paper map inside the sealed case in a bucket of water for 10 minutes
- Check the seams, the window edges, and the flap overlap for any sign of moisture getting through
- Flex the case repeatedly to make sure the leather doesn’t crack along the fold lines, especially if you’re riding somewhere cold
Final Thoughts
Building a weatherproof leather map case for bicycle touring is one of those projects that feels small until the first rainy mountain pass or muddy descent, when suddenly it’s the thing keeping your route readable. Stick with vegetable-tanned leather, saddle-stitched seams, a flap that genuinely overlaps, and a regular wax schedule, and your map will hold up no matter what the sky throws at you. A case built this way stops being just gear. It turns into one of those trusted items that rides with you, tour after tour, for years.